Swapping Heads in Photoshop (Step-by-Step)
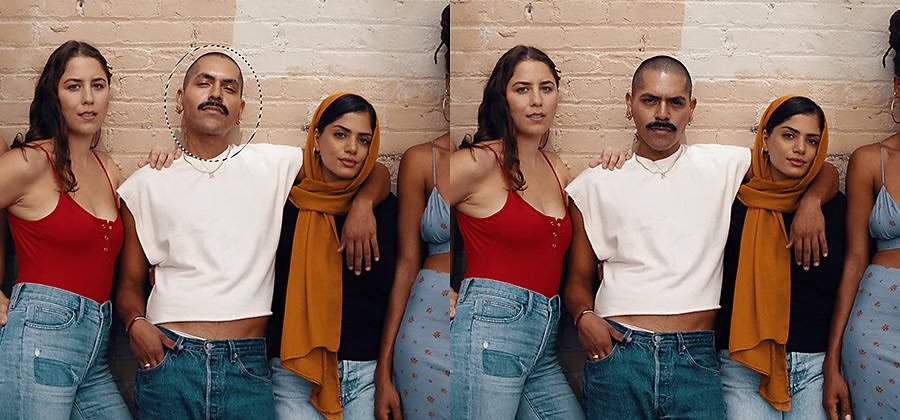
Photoshop, a powerful tool in the realm of photo editing, offers a fascinating feature known as 'Head Swap'. Whether it's for fun, creating memes, or correcting a group photo where someone blinked at the wrong moment, head swapping can be a handy skill to have.

The Basics of Head Swapping
Open the Images
Start by opening the image you want to edit and the image with the head you want to use.
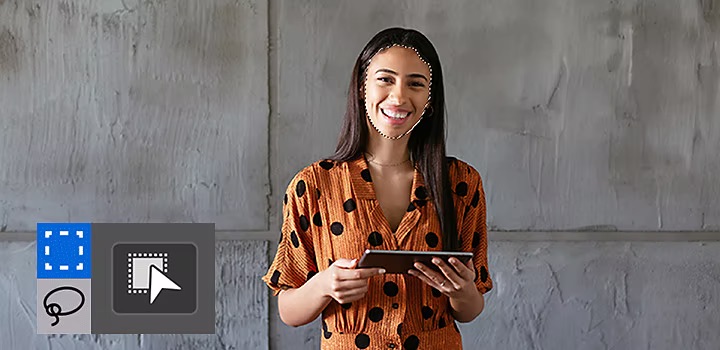
Select the New Head
Use the quick selection tool to select the head you want to swap.
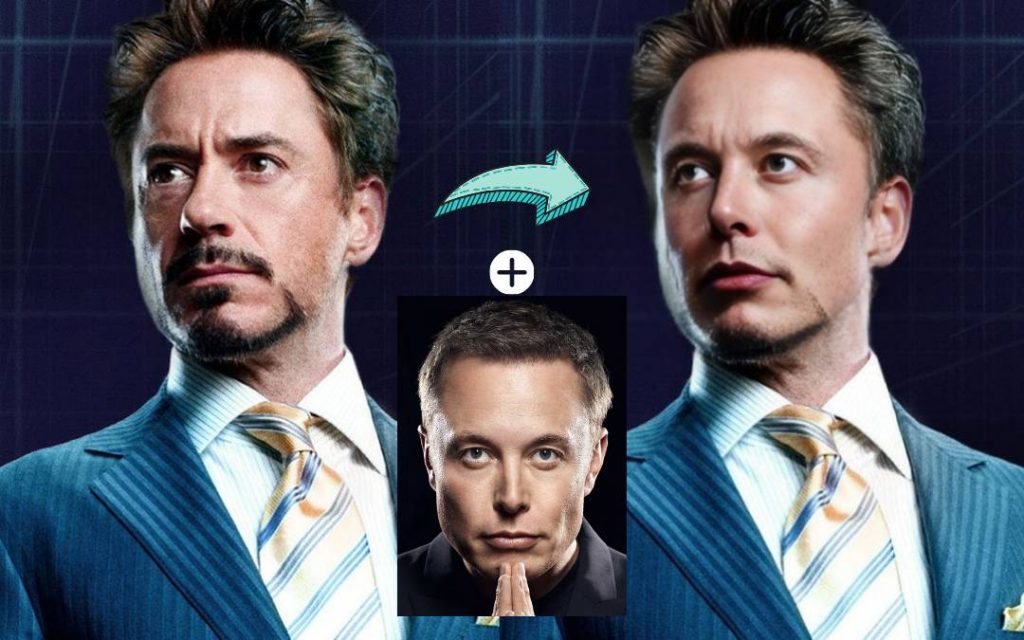
Position the New Head
Drag the new head to the other image and adjust its size, scale, and position.
Blend the Images
Use the Clone Stamp Tool to erase the original head and other elements if needed from the background¹.
Match the Skin Tones
Use different techniques like curves adjustment layer and clipping mask to match the skin tones and blend the new head with the body.


Face Swap Using Vmodel
How to swap faces Using Vmodel?
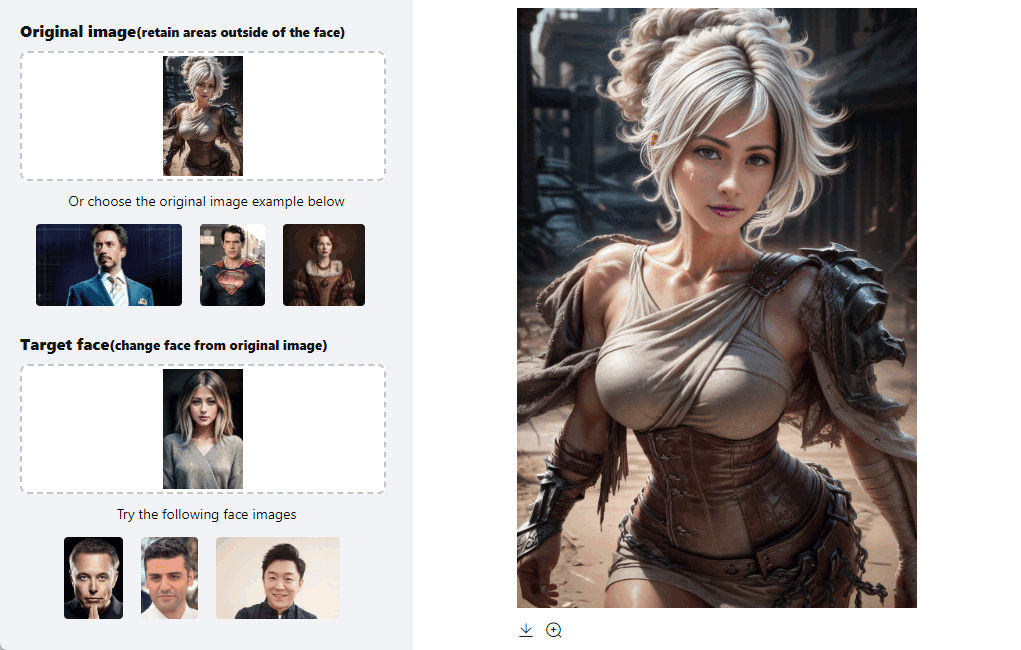
Upload a photo of Gaming Characters
In the 'Original Image' section, upload a picture showcasing the courageous Riven.
Upload your photo
In the 'Target Face' section, choose a clear, preferably front-facing photo to ensure a more lifelike face swap.
Click 'Generate' to experience the magic of Face Swap for Gaming Characters
Click the 'Generate' button and patiently wait for just a minute. Witness the magic as you seamlessly merge with Riven in the original scene.

