In this blog post, I will show you how to use Adobe Express to remove the background from an image and create stunning content. I will also answer some frequently asked questions about Adobe Express and its background removal feature. Let’s get started!
Step 1: Upload your image to Adobe Express
The first step to remove the background from an image is to upload your image to Adobe Express. You can do this by visiting the [Adobe Express website] and clicking on the Edit button. This will take you to the editing interface, where you can choose to upload an image from your computer, your cloud storage, or your camera roll. You can also drag and drop an image to the interface.
Once you have uploaded your image, you will see a toolbar on the right side of the screen, where you can access various editing tools. To remove the background from your image, you need to click on the Remove Background tool, which is the second icon from the top.
Step 2: Remove the background from your image with one click
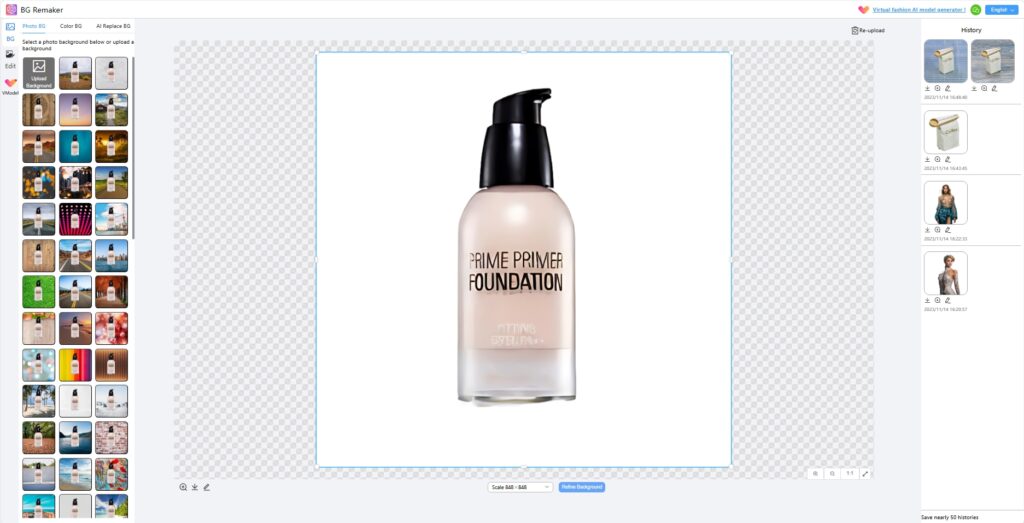
After you click on the Remove Background tool, Adobe Express will automatically detect the subject of your image and remove the background from it. You will see a preview of your image with a transparent background, which means that the background has been removed. You can also zoom in and out of your image to check the details.
If you are happy with the result, you can click on the Apply button to confirm the background removal. If you are not satisfied with the result, you can click on the Cancel button to undo the background removal. You can also use the Refine Edges tool, which is the third icon from the top, to adjust the edges of your subject and make them smoother or sharper.

Step 3: Change the background of your image
Now that you have removed the background from your image, you can change the background to something else. You can do this by clicking on the Background tool, which is the fourth icon from the top. This will open a panel on the left side of the screen, where you can choose from different background options.
You can choose to use a solid color, a gradient, a pattern, or an image as your background. You can also upload your own image as your background, or use one of the images from the Adobe Express library. You can browse the library by category, such as nature, abstract, textures, and more. You can also search for images by keywords, such as adobe express remove background.
To apply a background to your image, you just need to click on the background option that you like, and it will automatically replace the transparent background of your image. You can also adjust the size, position, and rotation of your background by using the handles on the corners and sides of the background image. You can also use the Blend tool, which is the fifth icon from the top, to change the opacity and mode of your background.
Step 4: Add graphics, animations, text, and more to your image
Once you have changed the background of your image, you can add more elements to your image to make it more interesting and attractive. You can do this by using the other tools on the toolbar, such as graphics, animations, text, stickers, shapes, and more.
To add an element to your image, you just need to click on the tool that you want to use, and then choose from the options that appear on the left panel. You can also search for elements by keywords, such as adobe express remove background. You can then drag and drop the element to your image, and adjust its size, position, rotation, color, and more by using the handles and the options on the right panel.
You can add as many elements as you want to your image, and layer them on top of each other. You can also use the Arrange tool, which is the sixth icon from the top, to change the order of the elements on your image. You can also use the Crop tool, which is the seventh icon from the top, to crop your image to a different size or shape.

Step 5: Save and share your image
After you have added all the elements that you want to your image, you can save and share your image with others. You can do this by clicking on the Save button on the top right corner of the screen. This will open a dialog box, where you can choose the format, quality, and name of your image. You can also choose to resize your image to a different dimension or resolution.
You can then click on the Download button to save your image to your computer, or click on the Share button to share your image to social media platforms, such as Facebook, Twitter, Instagram, and more. You can also click on the Continue Editing button to edit your image further in Adobe Express, or click on the Create New button to start a new project.

Step 6: Use your image in other projects
One of the best things about Adobe Express is that you can use your image in other projects, such as flyers, banners, posters, videos, and more. You can do this by clicking on the Create New button on the top left corner of the screen, and then choosing the project type that you want to create. You can also choose from different templates and layouts that are available for each project type.
You can then use your image as a background, a graphic, or a sticker in your project, and add more elements to it, such as text, animations, shapes, and more. You can also edit your image further in your project, such as changing its size, position, rotation, color, and more. You can also use the other editing tools that are available for each project type, such as filters, effects, transitions, and more.
You can then save and share your project in the same way as you did with your image, by clicking on the save button on the top right corner of the screen. You can also click on the Back to Editor button to go back to the image editing interface, or click on the Home button to go back to the Adobe Express website.
Step 7: Learn more about Adobe Express and its features
If you want to learn more about Adobe Express and its features, you can visit the [Adobe Express website] and click on the Learn button on the top menu. This will take you to the Adobe Express blog, where you can find tutorials, tips, tricks, and inspiration for using Adobe Express. You can also browse the blog by category, such as photo editing, video editing, graphic design, and more. You can also search for topics by keywords, such as adobe express remove background.
You can also visit the [Adobe Express help center], where you can find answers to common questions and issues that you may have while using Adobe Express. You can also contact the Adobe Express support team, who are available 24/7 to help you with any problem that you may encounter. You can also give feedback and suggestions to the Adobe Express team, who are always working to improve the tool and make it better for you.

Step 8: Enjoy creating amazing content with Adobe Express
I hope this blog post has helped you learn how to use Adobe Express to remove the background from an image and create stunning content. Adobe Express is a powerful and easy-to-use tool that can help you unleash your creativity and express yourself. You can use it to create anything that you can imagine, from photos, videos, graphics, animations, and more.
You can also use Adobe Express to create content for different purposes, such as personal, professional, educational, or entertainment. You can also use Adobe Express to create content for different platforms, such as social media, websites, blogs, newsletters, presentations, and more. You can also use Adobe Express to create content for different audiences, such as friends, family, customers, students, or fans.
Adobe Express is a tool that can help you create content that is not only beautiful, but also meaningful, engaging, and impactful. You can use Adobe Express to tell your story, share your message, showcase your work, promote your brand, or just have fun. You can use Adobe Express to create content that is not only for yourself, but also for others.
So what are you waiting for? Start using Adobe Express today and see what you can create!

Other AI Tools
Free Face Swap Online

QR Code Generator - Free Online
Watermark Remover Free Online
Free AI Watermark Remover - Remove Any for Free
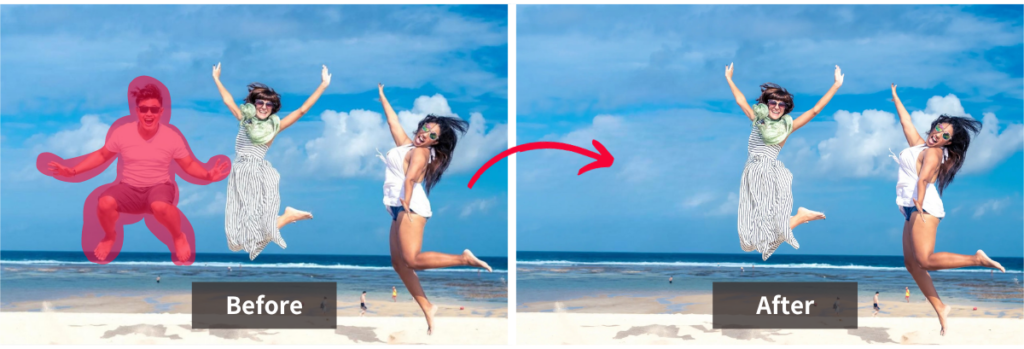
BG Remaker -Remove Background
for Free
BG Remaker boasts cutting-edge AI technology, ensuring precision and accuracy in background removal. Whether it's a complex or intricate background, the software efficiently identifies and eliminates unwanted elements, delivering clean and professional results in seconds.
FAQ
Got a question? We've got answers. If you have some other questions, see our support center.
1、What is Adobe Express and what can I do with it?
Adobe Express is a free online tool that lets you easily edit photos, videos, graphics, animations, and more. You can use it to create stunning content for different purposes, platforms, and audiences. You can also use it to remove the background from any image in just one click, and change it to something else.
2、How does Adobe Express remove the background from an image?
Adobe Express uses artificial intelligence and machine learning to automatically detect the subject of your image and remove the background from it. You can also use the Refine Edges tool to adjust the edges of your subject and make them smoother or sharper.
3、How can I change the background of my image after I remove it with Adobe Express?
You can change the background of your image by using the Background tool, which lets you choose from different background options.